|
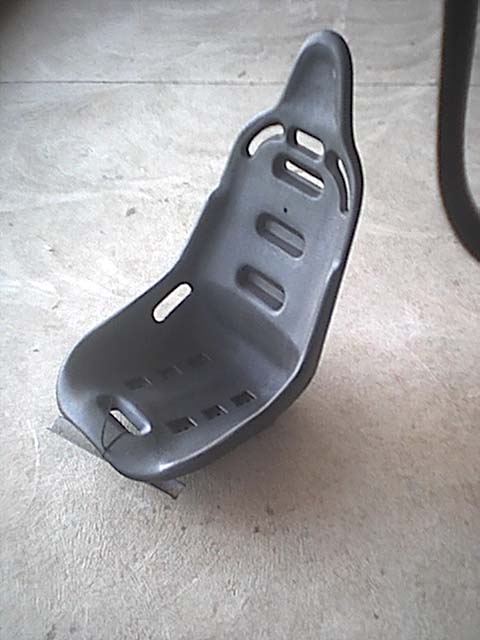
Below is a picture of my drivers seat. It is made by a company called RCI racing.
It is quite good quality for the $70.00 i paid. It also has a seat cover you can buy which has all
the padding fitted to it, i will buy that later on. The seat has all the slots cut in it for the 5 point harness which i also
bought from RCI for $130.00. The harness has a latch assembly where the buckles slide over one another and the final one locks
them into place so that mud does not effect it. The seat is very lightweight and fits perfectly in the buggy.
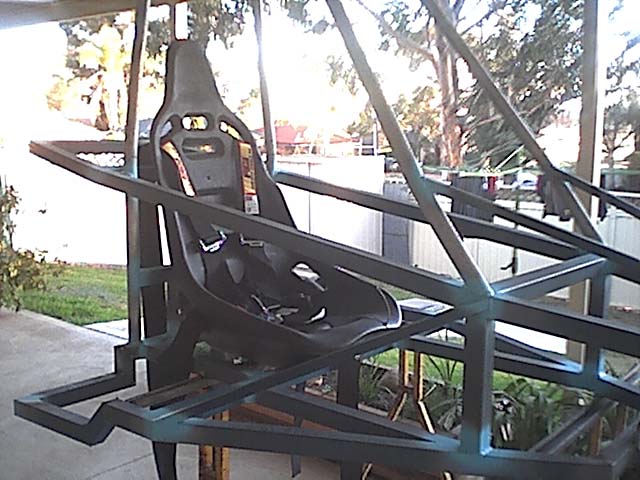
Mounting The Seat
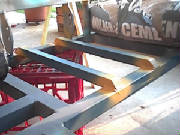
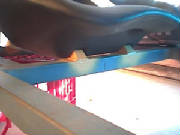
The seat has been mounted on two peices of 30x30 RHS which run from front to back in the buggy frame.
On the ends of the RHS i notched them down approx 8mm so that they sit a bit lower than the 40x40 main frame, so
that the seat will sit a little bit lower in the frame. Sitting in the seat i have about 2 inches of head clearence from the
helmet to the top of the rollbars. The bag of cement is there to balance out the weight of the fitted engine so the buggy
doesnt topple over...
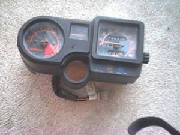
Below is the original dash from the buggy. I will use it on the winder. It has a tacho, water temp
guage and speedo as well as high beam, indicator and neutral lights. I doubt i will use the speedo though. And i know
the tacho needle is broken, you just have to judge where its pointing, i will get another needle one day.
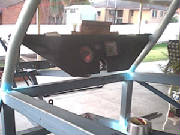
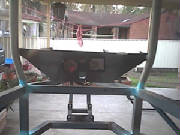
Below is the dash surround that I made as part of my TAFE course for work, its made from 16plys
of carbon fibre and all up about $200 of materials were used but i didnt have to pay a cent which was great! I cut out
the exact shape of the instrument cluster and then slotted the instrument cluster in from behind so the cluster
face is flush with the dash panel. The slot in the centre of the dash at the bottom is for the steering column to
go through, it will just fit. I did have to modify the 20x20 rhs which suports the rear column mount but it
will look better in the longrun i think so. Engine starter button, fuel pump switch, light switchs, engine cutoff switch, and
whatever other switches will be placed on the dash to the sides of the instrument cluster. In the picture below
the panel is just taped in place roughly to see how it looks.
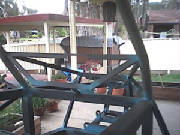
I have now made the frame for the dash to be mounted to. Its made from 3mm thick 20mm angle. I also had
to modify the rearward column mount to fit onto the dash support but it all worked out well in the end and the column
still sits at the same angle and dimensions as the plan specifies. Picture below.
|