|
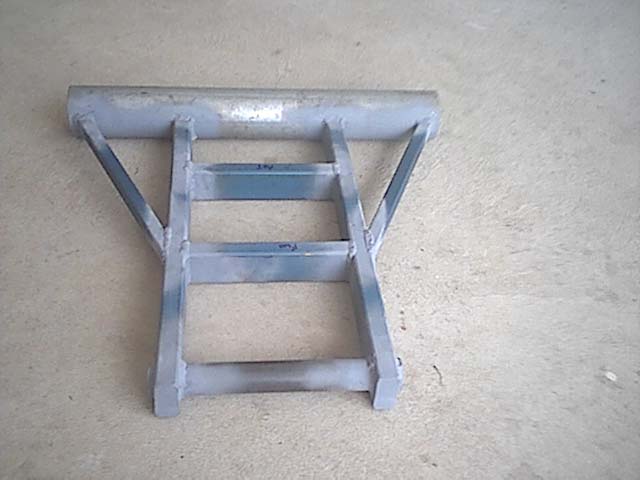
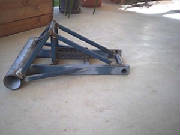
The rear swingarm is made using 76.1mm pipe, 50x25 rhs, 20x20 rhs and 25nb pipe. I actually had my rear axle housing tube
cut to the length specified in the plans by the steel merchant whom i bought it from as i wanted the ends of this particular
part to be perfectly square as these are what the bearing flanges butt up against, and if they are out of square then the
axle will not sit square in the tube resulting in the buggy not handling the way it should in a straight direction. I
was lucky enough to be able to borrow holesaws to cut the holes for the pivot tube to sit in, and also to cut the radius
to fit around the axle tube which saved some cash. The rest of the peices for the rear swingarm i cut with a hacksaw as i
did not feel like pulling out the noisy angle grinder that day to cut each peice. The hacksaw sliced through them quite easily
anyway.
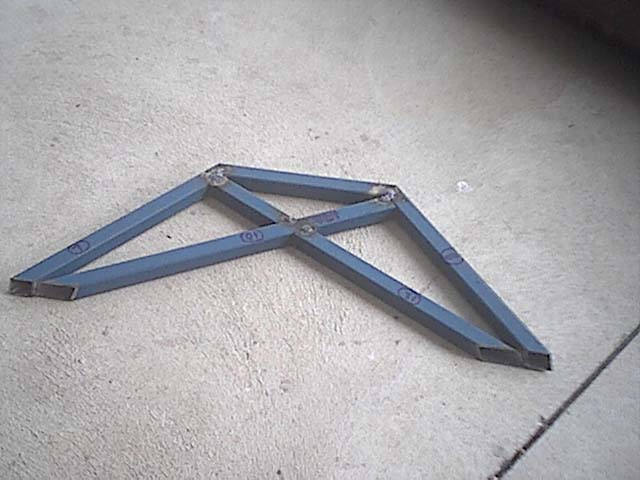
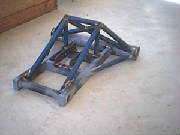
Below is the cross brace to fit onto the swinarm. It stiffens up the swingarm and helps stop it from twisting due
to the torque of the motor, because if the swingarm twists the buggy will steer itself off line and the chain will most probably
fall off in the process as well.
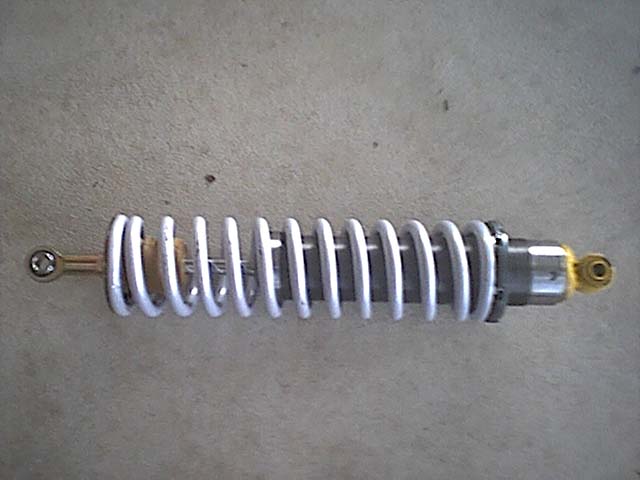
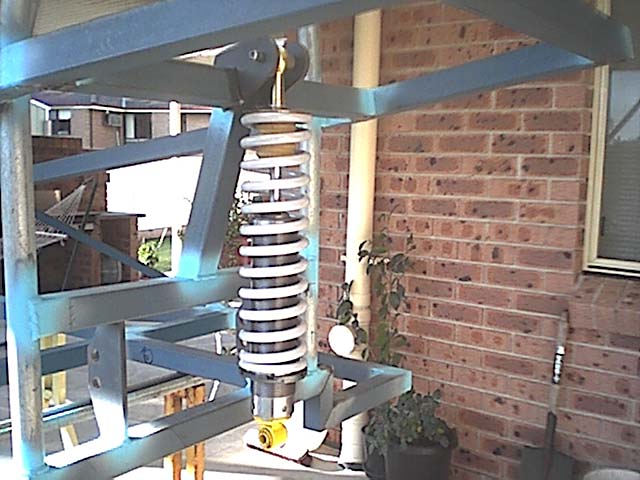
Below is a picture of the rear shock from The Edge. It has a eyelet in one end and a conventional shock mount in the
other end. The thread for the spring load adjustment is threaded all the way up the shaft which will allow for plenty of spring
preload adjustment which is good.
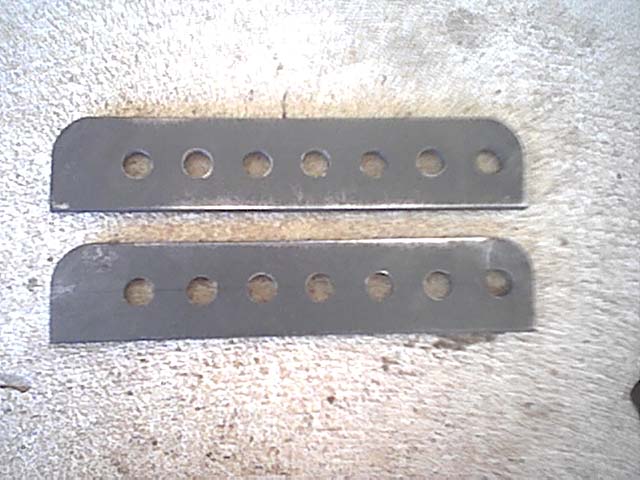
These are the lower shock mounts which fit onto the rear swingarm. They are cut from 6mm flat plate. I used 40mm wide
plate instead of the 32mm wide as stated in the plans because its what i had on hand already.
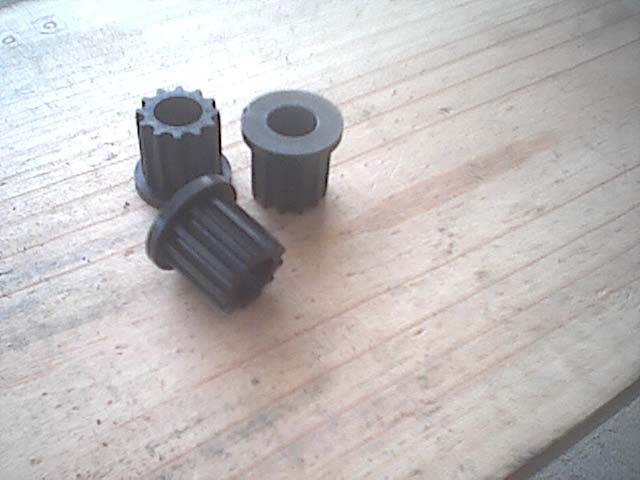
These are the injection moulded acetal pivot bushes which i got from The Edge, they fit into the pivot tube.
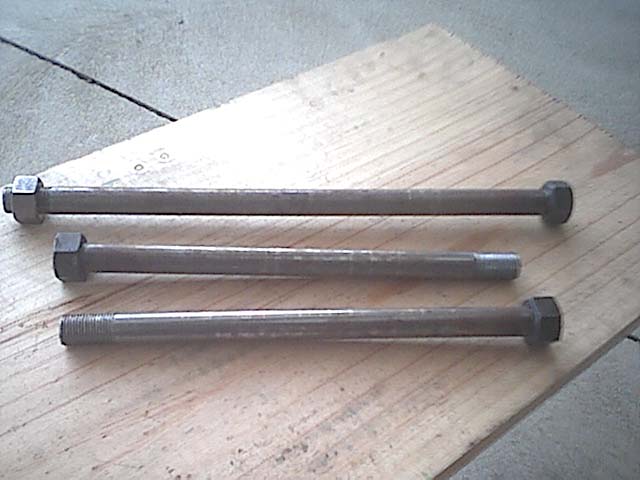
Below is the pivot bolt (top bolt in pic) which the entire rear swingarm pivots on. Made from 16mm BMS rod as per the
plans. Other 2 bolts are for front suspension
Below is pictures of the rear shock trial fitted to the rear upper shock mount (i couldn't resist). In the second picture
you can see the way i have installed the eyelet with the spacers either side.
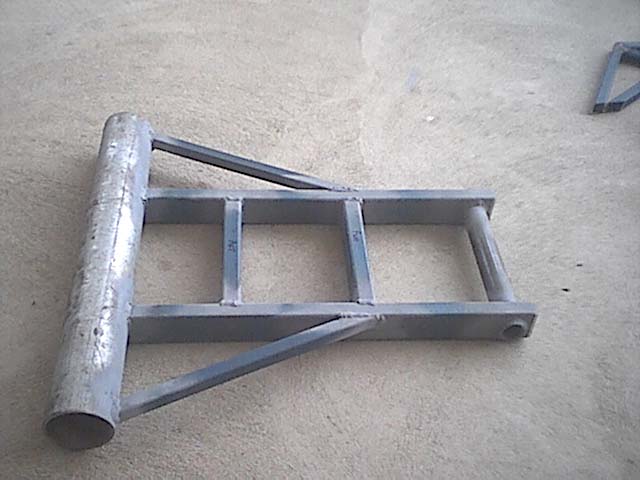
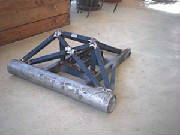
I have now added the lower shock mounts to the rear swingarm as well as all of the 20x20 rhs support peices, its starting
to look the business now.
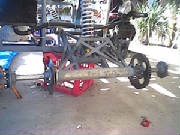
Below is pictures of the rear swingarm pretty much completed, all it needs is to have the bearing flanges welded on and
the pivot bushes fitted.
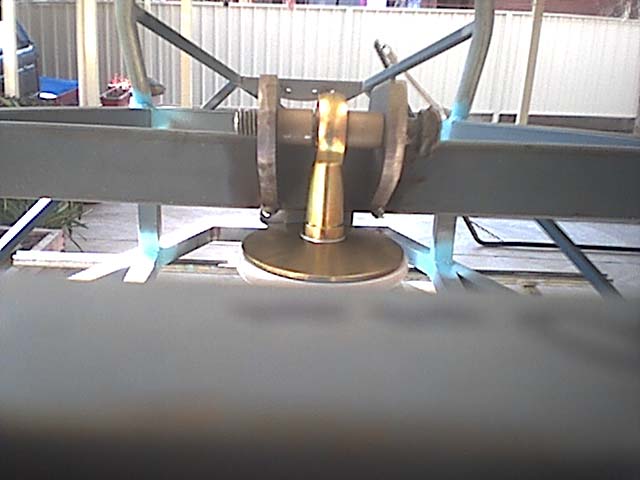
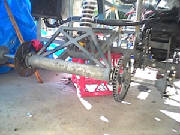
The rear swingarm is now complete and has the axle fitted and is now fitted to the buggy. It all went together smoothly.
All it needs now is the wheels so it can be a rolling chassis. All the bushings and pivot pin were also lubed with grease
during fitment.

|